
Class II Restoration Protocol Using a Sectional Matrix System
One of the most routine, yet complex, procedures completed by dentists is the Class II restoration. Despite being common place in every day practice, the Class II restoration requires many technique-sensitive steps in order to ensure long-term stability. Adequate isolation and ideal contour are critical factors as they ensure proficient seal and cleansibility of the restoration, and thereby reduce the risk of debonding or developing recurrent decay. Just as the rubber dam is considered the gold standard for isolation, sectional matrix systems are the gold standard for Class II restorations. Although other techniques exist using circumferential bands, sectional matrices stand-alone by providing superior contour consistent with the patient’s natural anatomy.
CLINICAL PROTOCOL
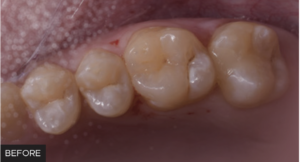
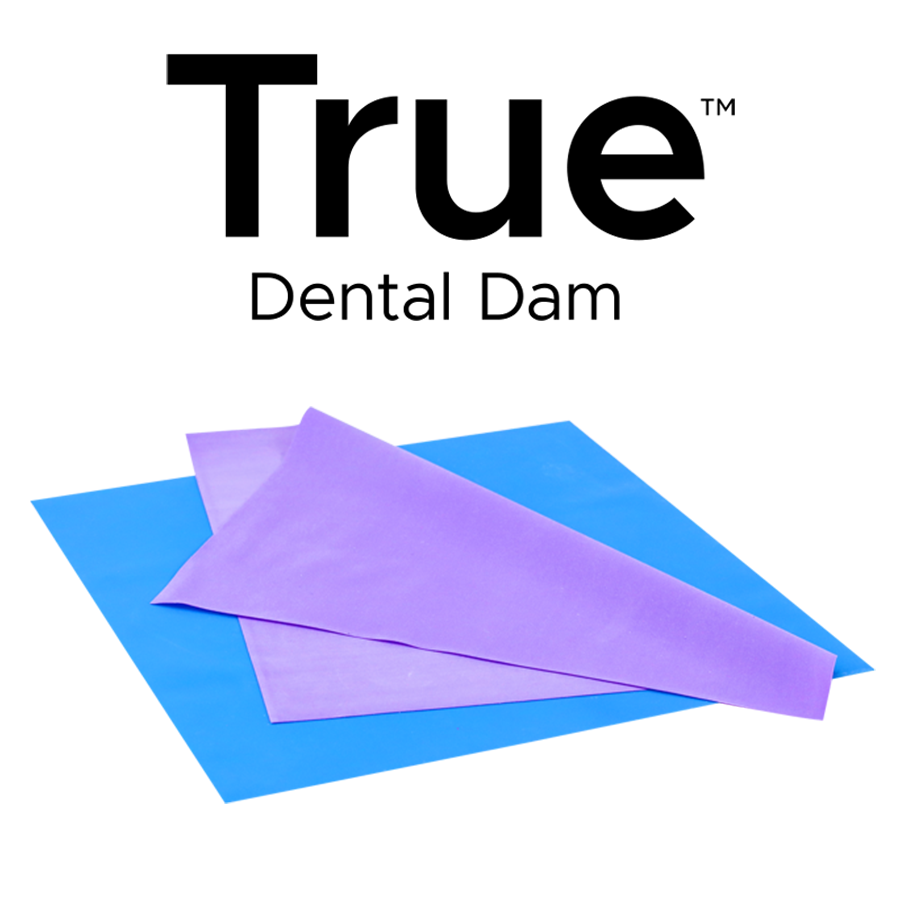
To ensure proper seal and reduce contamination, all restorative procedures should begin with accurate placement of a rubber dam (True Dental Dam, Latex Free, Clinician’s Choice). (FIG 1) A caries removal endpoint is determined with caries detecting dye. Caries dye ensures that all infected tissue is removed from the peripheral rim, ensuring a superior seal of the restoration and reduces the risk of developing recurrent decay. Once the caries removal endpoint is confirmed, the prep can be finalized and restored.
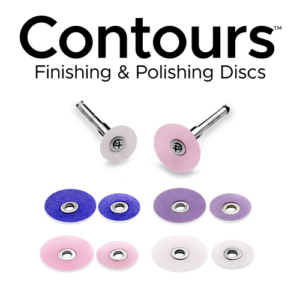
Prior to placing the DualForce Ultra-Wrap Matrix Band, Contours Finishing & Polishing Discs (Clinician’s Choice) are used to smooth any sharp edges, modify and polish adjacent tooth contours, as well as ensure there is adequate space for proper band placement. Improving the contour of the adjacent tooth allows for ideal interproximal contact between the restorations.
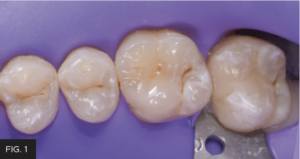
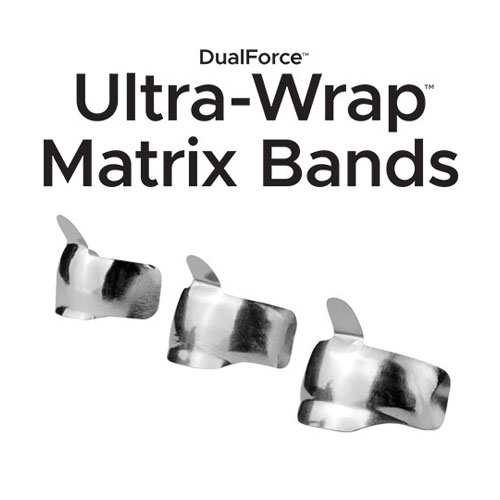
The matrix band should be placed passively past the apical-most portion of the interproximal box and seated no higher than the adjacent marginal ridge. (FIG 2)
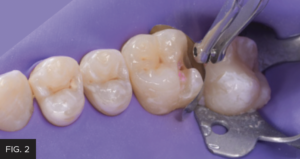
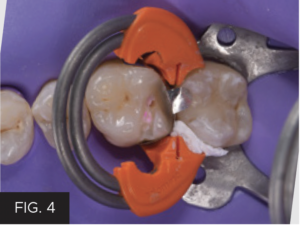
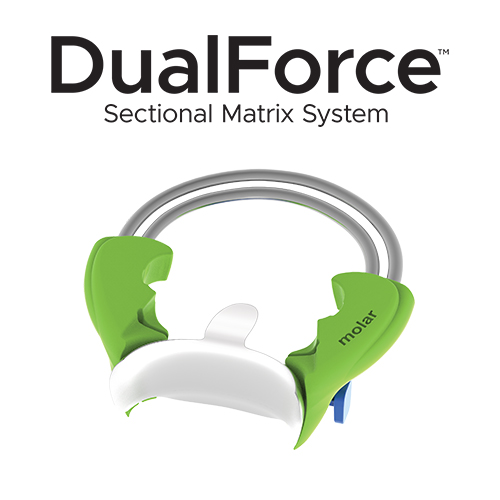
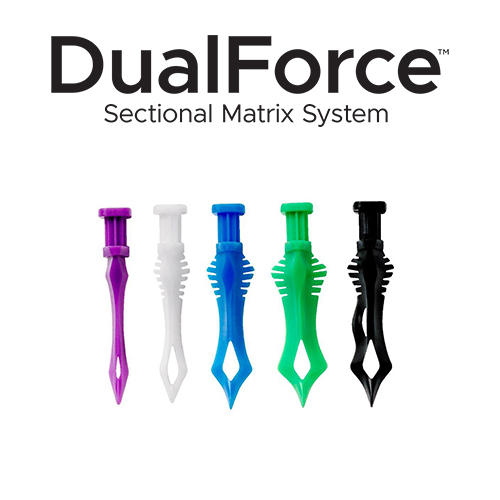
Do not hesitate to modify or reposition rubber dam clamps as necessary to achieve desired outcome. The Ultra-Wrap matrices are pre-contoured to provide ideal contact position against the adjacent tooth. Additionally, they remain tight to the buccal and lingual surfaces even prior to ring placement. DualForce Active-Wedges are unique as they actively engage both the matrix band against the tooth being restored as well as the adjacent tooth. This active force helps seal the apical box completely at the most cervical portion. Once the band and wedge are placed (FIG 3), it is time to place the sectional ring. (FIG 4) Personally, I prefer to place the Active-Wedge (Clinician’s Choice) prior to placement of the ring, but wedges may be placed after ring placement as well.
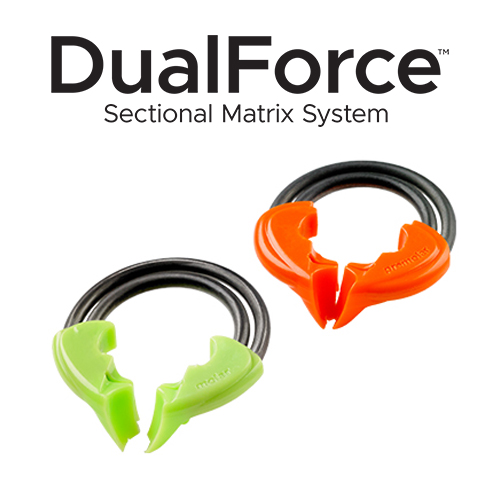
The DualForce Rings are fabricated from dual NiTi wires which allow for more separation force, resisting breakage and requiring less expansion force with placement. Additionally, the rings apply balanced separation force on both the mesial and distal contact areas. For teeth with wider bucco-lingual preps, Teflon Tape can be used to help adapt the clamp to allow a flush fit of the matrix against the tooth. No gap should be visible between the matrix and the tooth prior to beginning the restoration.
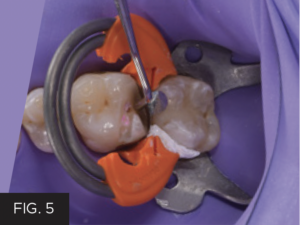
Once the matrix band and ring are stable, a narrow condensing instrument is used to burnish the matrix up against the adjacent tooth. Burnishing the matrix ensures tight interproximal contact with the adjacent tooth. (FIG 5)
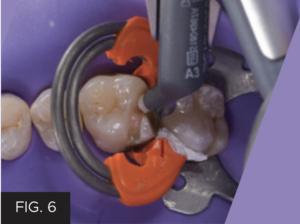
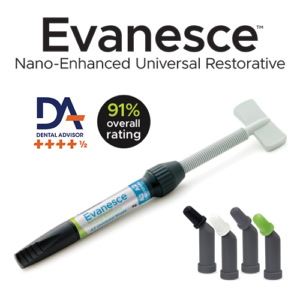
The tooth is then etched for 12 seconds with 34% H3PO4 and rinsed with copious irrigation. Standard bonding protocols are completed as per manufacturer’s instructions for use. The tooth is restored using Evanesce (Clinician’s Choice) composite shade A3U placed in 1mm increments. (FIG 6)
Each increment is contoured and cured for 20 seconds. Special care is taken while building up the restoration in increments to match anatomy, thereby reducing post-operative contouring and occlusal adjustments. After the restoration is built up completely and the matrix band is removed, the restoration is cured for an additional 20 seconds on both the buccal and lingual to ensure adequate polymerization of the material. It is recommended to keep the rubber dam in place during initial contouring and polishing.
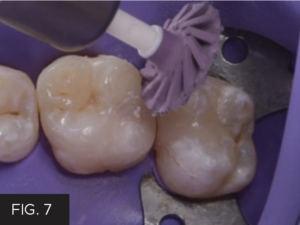
Initial contour is completed with flame diamond burs to remove excess flash and establish tertiary anatomy. A.S.A.P. Dailies Polishers (Clinician’s Choice) are used for polishing prior to removal of rubber dam. (FIG 7 & 8) Contours Finishing & Polishing Discs (Clinician’s Choice) may also be used to remove any flash at the junction between restoration and enamel surface on the facial and lingual. Interproximal contacts should be verified with floss prior to removal of the rubber dam. Once the rubber dam is removed, occlusal adjustments and further contouring and polishing may be completed if indicated and interproximal contours should be confirmed once again with floss.

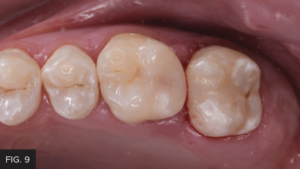
Restorations designed with ideal anatomy and contour require much less post-operative adjustments and modifications. (FIG 9) The best dentistry is delivered when clinicians are able to keep the end goal in mind. The more ideal the contour of the restoration, the easier it is for the patient to maintain. The easier the restoration is to maintain, the greater the potential for long-term success.

ABOUT THE AUTHOR
Dr. Devin McClintock is a graduate of the State University of New York at Buffalo School of Dental Medicine (2016), where she graduated with honors and a minor concentration in esthetics. Since graduating, her dedication to continuing education has not ceased. After completing two years of General Practice Residency and a year as an associate in a private practice, she was one of a few residents selected to complete a two-year residency with the American Academy of Cosmetic Dentistry. Currently, she is an associate at a private practice in Williamsburg,VA. When not practicing, she enjoys continuing her education by attending courses at the Kois Center in Seattle, WA, as well as assisting with the imPRES lecture series in Charleston, SC.
Share This Article! Choose Your Platform
Products Mentioned in this article

Related Articles
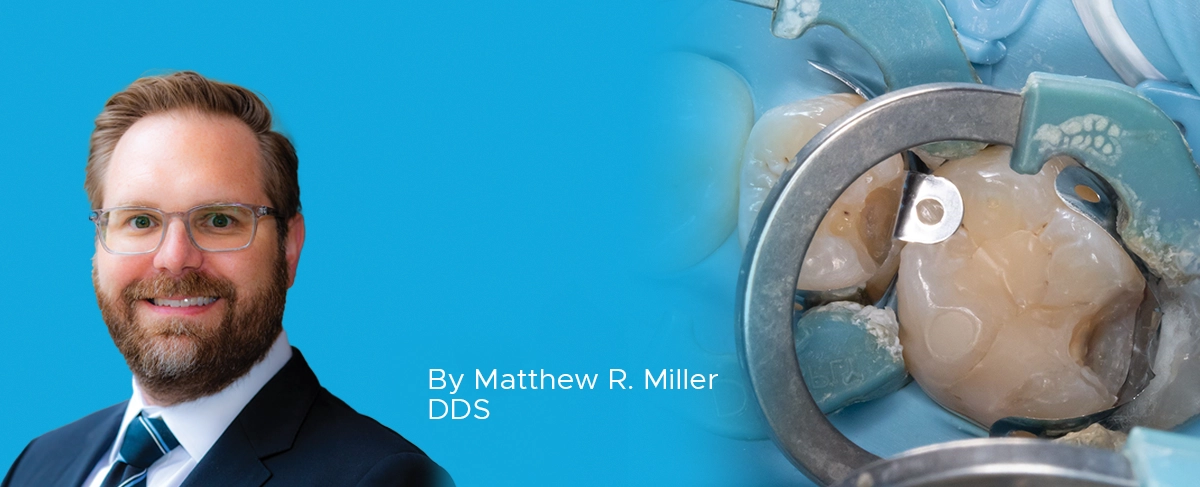
Ask the Expert: An Interview with Matthew R. Miller, DDS on Sectional Matrix Systems
By Matthew R. Miller, DDS
There are many sectional matrix systems on the market today. Are some better than others? What should I be looking for when choosing a sectional matrix system?
Achieving Clinical Success Utilizing the DualForce™ Sectional Matrix System
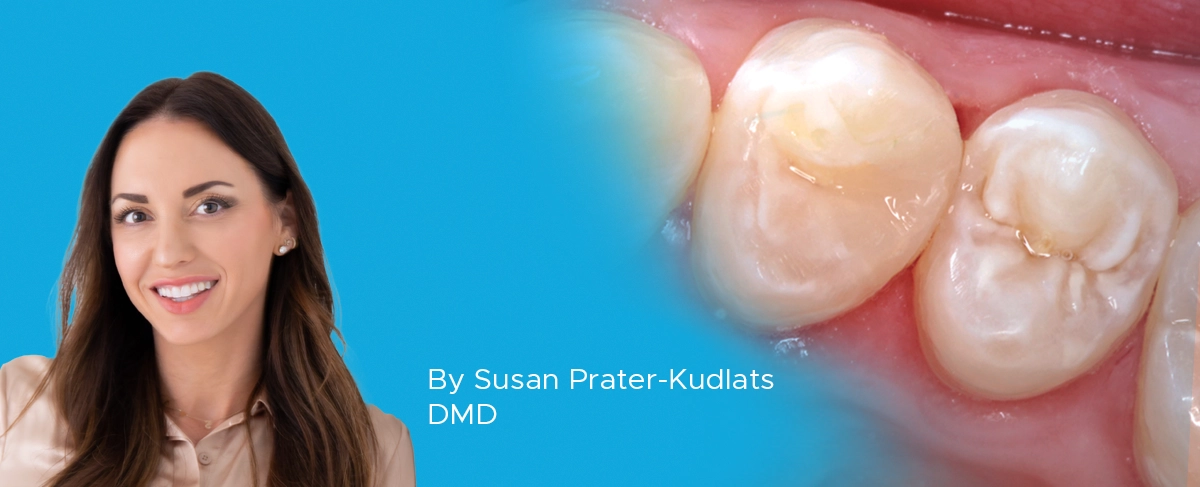
By Susan Prater-Kudlats, DMD
Although Class II restorations are routine amongst restorative dentists, they still present challenges when it comes to proper contour isolation, and marginal seal. Failure to achieve adequate contour can lead to food packing, gingival inflammation, and bone loss over time. The inability to ensure isolation can result in post-operative sensitivity; the marginal seal is essential to prevent recurrent decay.

Take 5: 5 Restorative Clinicians’ Take on DualForce™ Sectional Matrix System
5 Restorative Clinicians' Take On DualForce Sectional Matrix System.
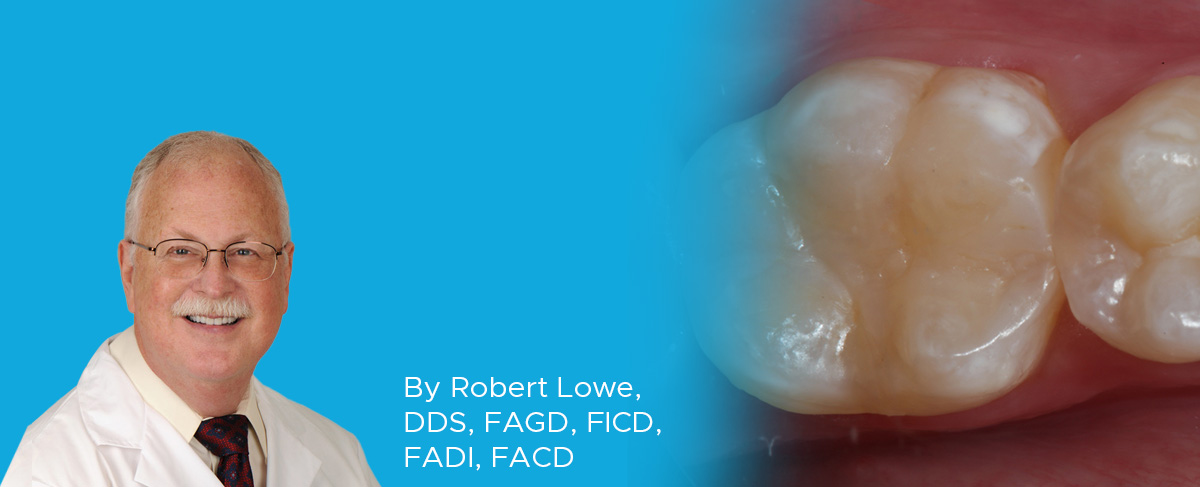
Optimizing Aesthetics and Predictability in the Placement of Posterior Composite Resin Restorations
By Robert Lowe, DDS, FAGD, FICD, FADI, FACD
The term “universal” seems to be used frequently in the adhesion/composite resin materials world today. It has always been a struggle to find such a material that can adequately replace two very different types of tissues, namely enamel and dentin. Dentin is more opaque yet resilient, while enamel is
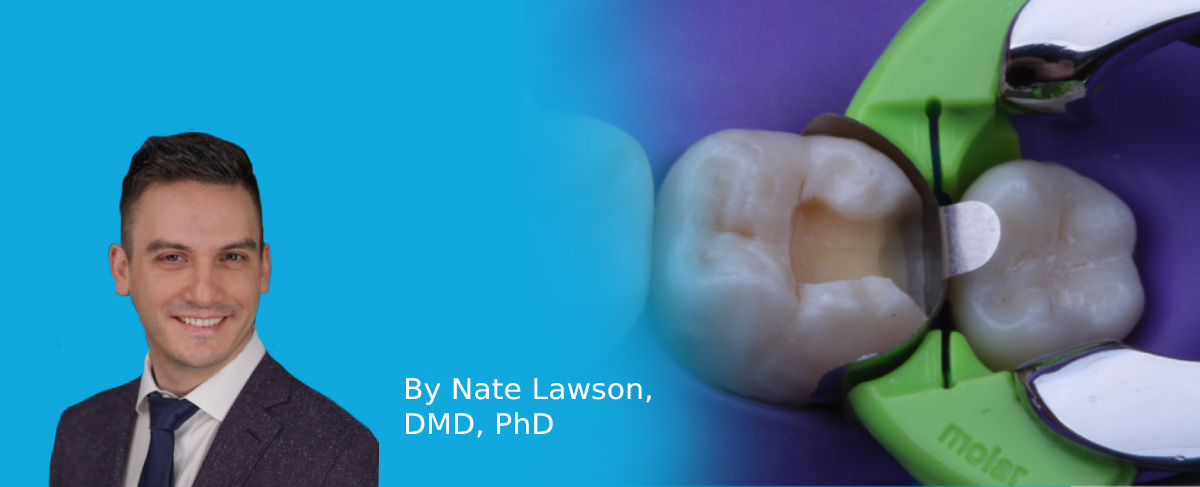
Ask the Expert: An Interview with Nate Lawson, DMD, PhD on Sectional Matrix Systems
By Nate Lawson, DMD, PhD
What is the advantage of using sectional matrices over circumferential matrices for composite restorations?
Simplifying the Class II Composite with Bulk Fill: Efficiency Without Compromise – Clinical Article
By Marcos Vargas, BDB, DDS, MS & Kayla E. Erps, Senior Dental Student, University of Iowa
While restoring the posterior dentition, natural proximal contours, contact size, position and shape are integral to the function and longevity of both the restoration and remaining tooth structure. Composite dentistry has progressed to the point where restorations disappear into the surrounding tooth structure yet despite considerable improvements in both technique and materials, inconsistent results continue to be a challenge for many clinicians.